Install Mono on Windows
Mono runs on Windows, this page describes the various features available for users who want to use Mono on Windows as well as using Mono-based technologies on Windows without Mono (like Gtk#).
- Download the latest Windows installer from the download page.
-
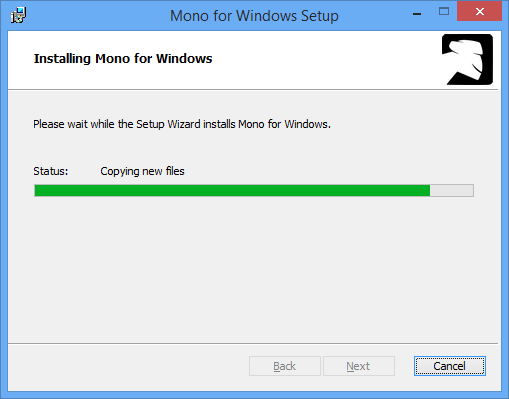
Run the installer and accept the terms of the license. Mono is now installing:
The installer creates a “Open Mono Command Prompt” shortcut under the Mono program group in the start menu. This shortcut starts a command shell with Mono-relevant path information already configured, which means all the Mono tools “just work”.
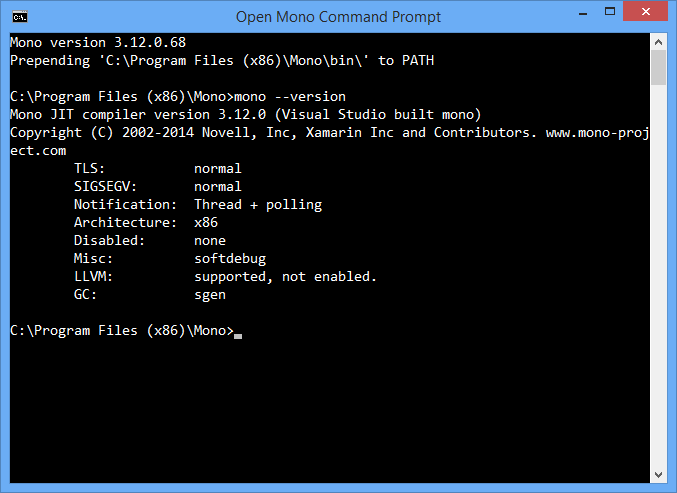
At this point, it’s a good idea to run through the basic hello world examples on this page to verify Mono is working correctly.
Gtk#
Gtk# is included as part of the Mono installation, this will allow you to create Gtk# applications on Windows with the Mono runtime which you can later deploy into Linux. See the Gtk# page for more details about the toolkit, or go directly to the Gtk# beginner’s guide.
Alternatively, if you only want to use Gtk# on Windows, without Mono, you can use the Gtk# installer for the .NET Framework.
Mono in the Windows 10 Bash
Windows 10 Anniversary Update and greater come with an experimental, optional Linux subsystem that exposes bash as an alternative shell. This can be used to install the Debian/Ubuntu version of Mono alongside or instead of the Windows version. Note that this feature is in beta and you need to manually enable it. For more information about how to install Mono inside Windows Bash and known problems, refer to this issue.